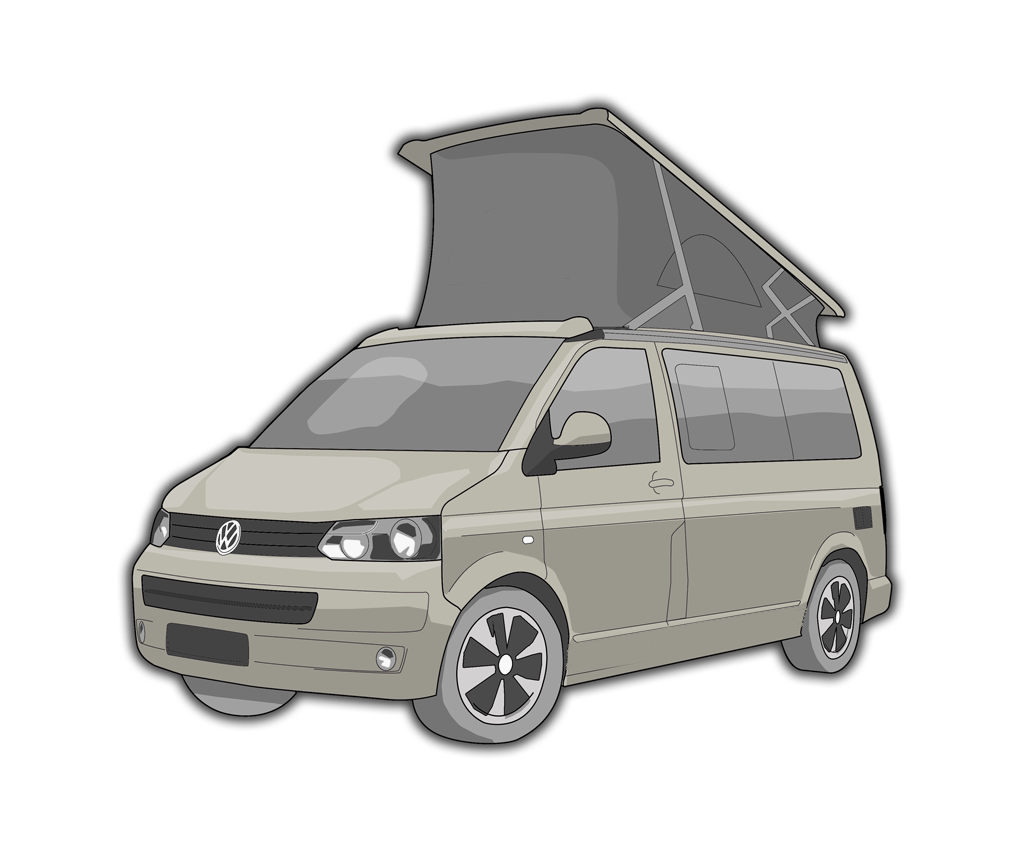

One of the most useful additions to our cali is the slide-out drawer fort he luggage compartment of the van. It allows you to make use of the space very efficiently and makes it easier to reach all your gear.
There are several different commercially sold drawers, ranging from 500 euros up to 700 euros or more. There are however, also quite some Cali owners who build one themselves. I did as well.
I started by creating a model in Sketchup. You’ll find the model here (compressed in a .zip file) in case you’d want to use it to copy my design. For Autocad-users feel free to use the DWG-file.

The second step was ordering aluminium L-profiles. There are several online shops that will cut them to your desired dimensions and ship them to you. I ended up using www.aluminiumshop.nl.
Materials
Below you’ll find the list of profiles I ordered, in case you would want to build the drawer for yourself.:
Frame:
1x 80x40x5mm 1000mm long
2x 80x40x5mm 750mm long
1x Strip 40x5mm 1000mm long
Drawer:
2x 80x30x3 740mm long
2x 80x30x3 951mm long

The entire construction is made up out of two parts:
- The ‘frame’, made of 3 aluminium L-profiles and a aluminium strip (5mm thick) , which are connected to the Cali’s floor rails with bolts.
- The drawer, made of 4 L-profiles (3mm thick) and a multiplex bottom plate (9mm thick). Both are joined together with pop nails/ rivets.

The frame and drawer are connected to each other by using strong drawer slides, which I orderd from a German website: Teleskopschienen24.de. They can carry up to 130 KG. They turned out to be a very good quality drawer slides and the website’s service was good. There’s even a very clear instruction manual in PDF on their website and a very useful explainer video on Youtube.
The multiplex board is made of 9mm water resistent multiplex. I also added some cheap anti slip material that helps prevent things from sliding.
Cost
The aluminium (cut to size and delivered) cost 108,33 euros. De drawer slides cost 79 euros. De special bolts to attach the frame to the Cali rails cost 27 euros, but in hindsight they could have been any M8 T-shaped bolts. So you could save on cost. De board cost 32 euros, but I ended up using less then half of it. So there’s another opportunity to spare on costs. A couple of bolts, pop rivets. Al in all I spend less then 250 euros.

A bit more info for those who asked
Since I wrote this article, many people have contacted me to let me know that they build the drawer based on this article. That’s really nice to hear. I appreciate the feedback very much.
Some have also asked for more detailed photo’s of how the different aluminium parts go together. So to accommodate those people, please find below a more detaild description (with photos) of how the alu parts go together.
What goes where?
The whole thing is made up out of a frame and a drawer, connected by drawer slides.
Photo number 1:

You can see here that the two side parts of the frame (A & B) rest in the back part of the frame (C) and on the front part of the frame (D). Where the parts meet (1 & 2), I used pop rivets to connect the parts together. Basically that’s the frame. Later on you have to make 2 holes in C to connect the frame to the van’s 2 rails, using a T-bolt.
Photo number 2:

Here you can see again how the frame is made. Before riveting the frame together at 1 & 2) , it’s smart to place it into the van first to see if it fits. Keep in mind that the bolt fasteners used on the bolts that connect the drawer slides to the frame, will be on the outside of the frame. So don’t make the frame full width. Leave room between the outside of the frame and the van wall for the bolt fasteners on the outside of the frame.
Photo number 3:

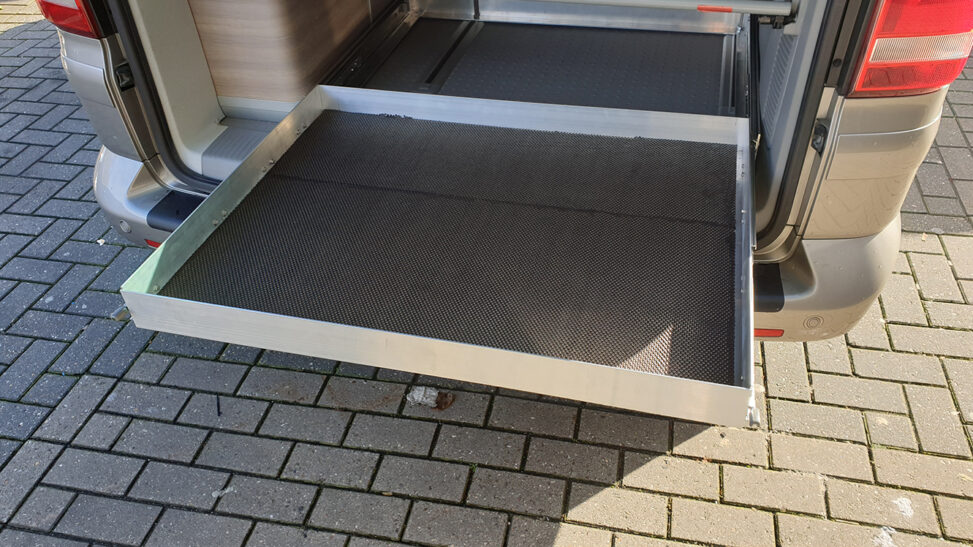
Here you can see that the sides of the drawer rest on/in the back and front parts of the drawer at 3 & 3 and 3a & 3a and that the drawer slides are bolted on to the drawer at 4 & 4. You can use shorter bolts than I did. Mine are a bit too long, but there aren’t in the way.
Photo number 4:

At 5 & 5 you can see that the drawer slides are connected to the frame with bolts as well. It’s these bolts that you need to reserve a bit of space for when measuring the frame inside the van.
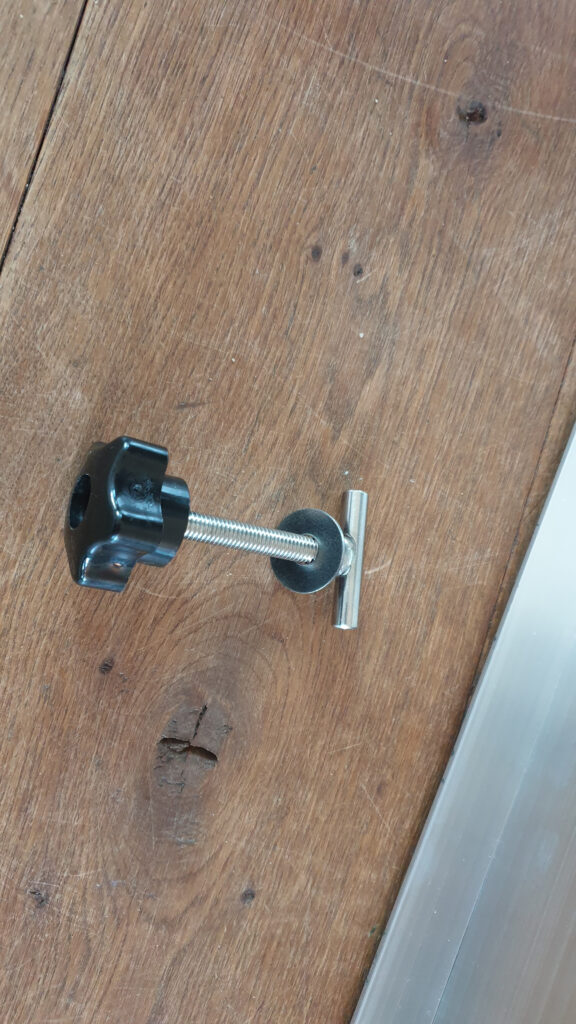
The tray is locked into the van’s 2 rails that hold the sliding bench seat. See photo’s below. The link to the T-bolts is in the article.
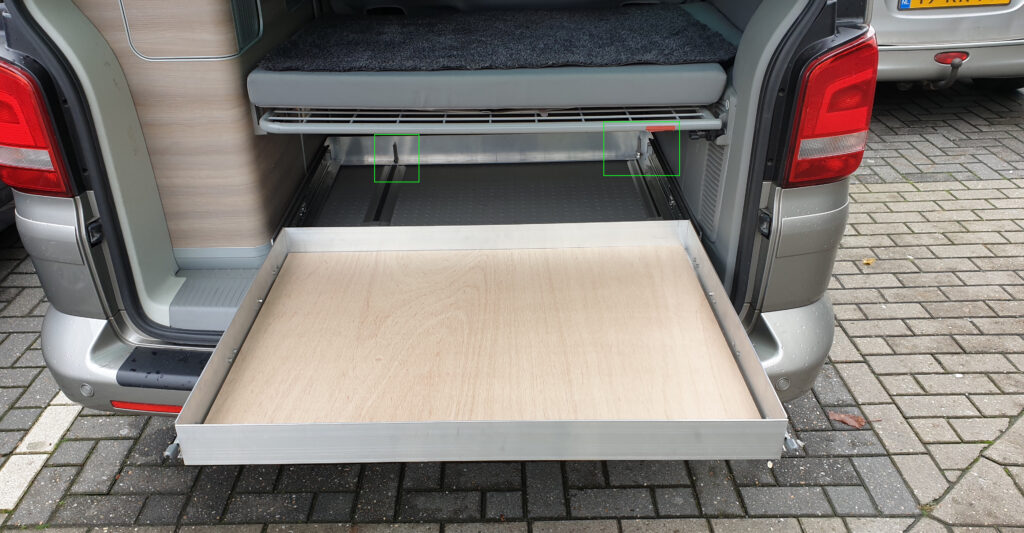
Turns out the link to the drawer slides changed. Find the correct ones here. Interesting is that the seller now also offers an extension that allows you to open and close the drawer with 1 hand! See below.

Marco Ansaldo
Hi, many thanks for sharing your project!
Paul
Thank you very much for putting the DIY drawer online.
My bus is a VW 6.1 Ocean and so I will probably have to shorten the 750 mm dimension to 710 mm because the available space in the back has changed with the new model when the seat is in the back position.
From the pictures you posted it’s difficult for me to see exactly how you put all the pieces together. If possible, could you send detailed pictures by email of all the metal connections?
This would be a big help.
Paul
Admin
Hi Paul, sure no problem. Let me know which e-mail to send it to.
Aleks
Hi! Thank You for Your idea and online publication! 😉 Can You send me the same info ( From the pictures you posted it’s difficult for me to see exactly how you put all the pieces together. If possible, could you send detailed pictures by email of all the metal connections?
This would be a big help.)
Thank you!
Aleks
Jules van Wesemael
Zou je mij de betreffende foto’s ook willen sturen?
Vast hartelijk dank
Jamie Zelichowski
Hi
As Paul asked i am keen to see how this goes together.
Could you send some pictures please.
kenny
any chance you could send details please. cracking job.
Cheers,
Kenny
Admin
What kind of details are you looking for Kenny? I believe all the information needed is in the article.
Tony Weeks
Many thanks for all of this information – very generous of you.
Ive just purchased a 6.1 and i’m going to build this.
Could you possibly send me the detailed plans please.
Tony
Tony Weeks
Actually, I can see all the info I need from what you have already posted. Just need to make the adjustments for the ‘smaller’ 6.1 boot space.
Thanks
Stephen
Hi there, very good Post….. I am looking into making the tray. But how is it fixed to the cali ? Can you include a photo ?
Admin
Hi Stephen,
The frame of the tray is bolted into the 2 rails of the sliding bench.
I’ll add 2 photo’s to the end of the article for clearity.
Ceyhun Emir
I just want to thank you for sharing this.
Admin
Thanks! You’re welcome.
Kostiantyn
Hi, many thanks for sharing this. May I ask – where do you buy alu profile in the Netherlands?
Admin
Hi, as mentioned in the article (but you might have missed it) I ordered from :
http://www.aluminiumshop.nl
Worked well for me.
z
Hello, thank you for sharing this, very useful.
Are you sure that the frame is made from 5 mm profiles?
Peter Tootill
I can’t read the contents of the zip files to see the exact dimensions/measurements. Would it be possible for you to post jpegs of the zip file contents or email them to me? Thanks!
Admin
Hi Peter,
The contents of the zip-file is a Sketchup-file. Sketchup is a software program that is used to design things. You would need sketchup to open the file which would allow you to see the dimensions of all the different parts.
Keith Green
Would love to see more detailed photos of your pop rivet connections of all the frames please. Difficult to see
Keith Green
Yea. Would love to do this but can’t open zip file and photos are small, can’t enlarge. Could you send me a mail with more details please
Admin
hi Keith,
I used pop-rivets only in the left back corner of the frame to secure the aluminium profiles together (marked ‘1’ in photo bumber 1 in the paragraph ‘what goes where’). I also used pop-rivets at both ends of D (in the same photo) and pop-rivets to secure the alu profiles that make up drawer (where needed, because the screws already do that in some parts).
If you have any specific questions, feel free to send me an e-mail at jvanderent [at]hotmail [dot]com.
(e-mailaddress written like this to prevent spambots from finding it)
Keith Green
It’s the photos that are too small for me to see the Pop rivets. Also which profile sits on top of which
Admin
Frame: A and B (the sides) are on top of C and D (fron ant back part). So C and D are on the floor of the van and A and B are placed on top of C and D.
The same goes for the drawer: the sides are placed on top of the back and the front profiles.
will Kooke
Beste,
is het zo dat alleen de t bouten het frame vastzetten op het achterste gedeelte. van het frame. Is dit voldoende ?
Admin
Beste Will,
Het frame zit inderdaad alleen aan de achterkant vast op de rails die al in de bus aanwezig is, dmv T-bouten. Dat volstaat in de praktijk prima en er zijn ook commercieel beschikbare uitschuiflades waarbij dat precies zo is. Het frame is zo gemaakt dat het zowel links als rechts klemt tegen de zijkant/binnenkant van de bus. Het gewicht blijft op zijn plek, totdat je de la openschuift. Wanneer de la open is bevindt het meeste gewicht zich buiten de bus en komt de druk dus vooral op het achterste deel van het frame te staan. Bij ons werkt het zo al een aantal jaren prima. Je zou nog kunnen overwegen om de voorste horizontale lat van het frame (goed zichtbaar op photo number 2) aan de bodem van de bus te bevestigen dmv dubbelzijdig tape om te voorkomen dat deze zou gaan schuiven. Maar zoals gezegd, werkt hier prima.